
Table of Contents
In this tutorial we are going to show how to perform a migration to a new URL with BackWPup. Let’s check it out!
Table of Contents
Create the back up archive
The first step to perform is to create a backup archive of your site through BackWPup Pro. So you can refer to the following tutorial: Create a WordPress full backup: Database and files
After the full backup is performed you can download the backup archive on your local computer and proceed with the next step.
Install the standalone Restore app
The migration feature can be performed on the new server via the standard BackWPup plugin or using the Standalone Restore App, which is also provided in the BackWPup package.
In this example, we will use the Standalone App because a site migration is usually performed from a source site to a new “clean” server. So, for more information on how to install the Standalone App you can refer to Install BackWPup Restore stand-alone App
If the App is in place, is now the time to perform the actual migration. Proceed further in the next section.
Migrate your site to the new URL
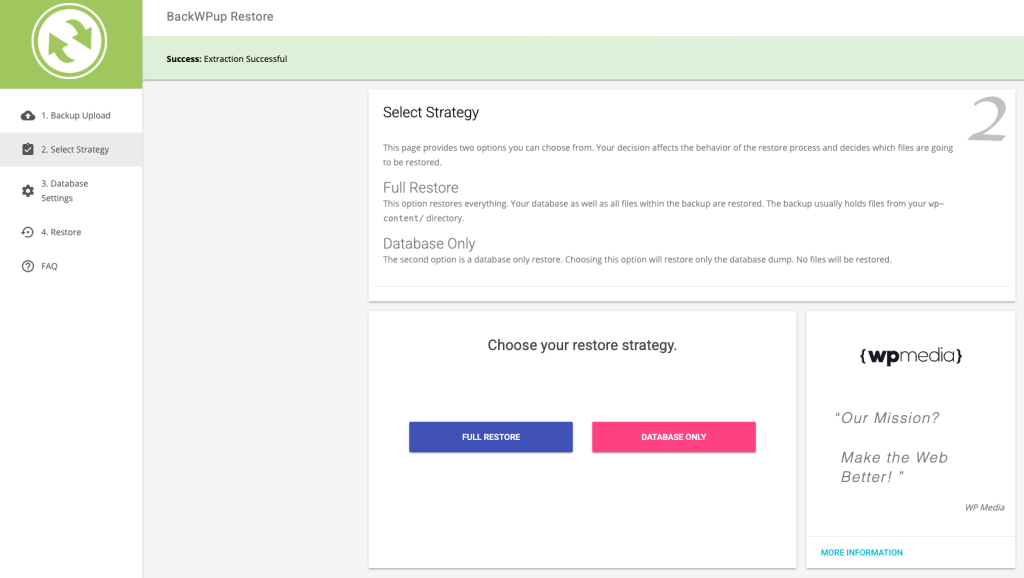
With the Standalone App, first we upload the back up archive package created as described in the above sections, then we can select the restore strategy. In our case, we select the full option.
After that, in step 3, we need to fill the Database Connection parameters: these refers to the database in the remote server, hence the database has to be previously created. If you already have a WordPress installation set in the remote server these info are also available in the wp-config.php file.

After filling out the credentials, click on the TEST CONNECTION button in order to check that the connection can be established. Finally, click on the CONTINUE button to proceed further.
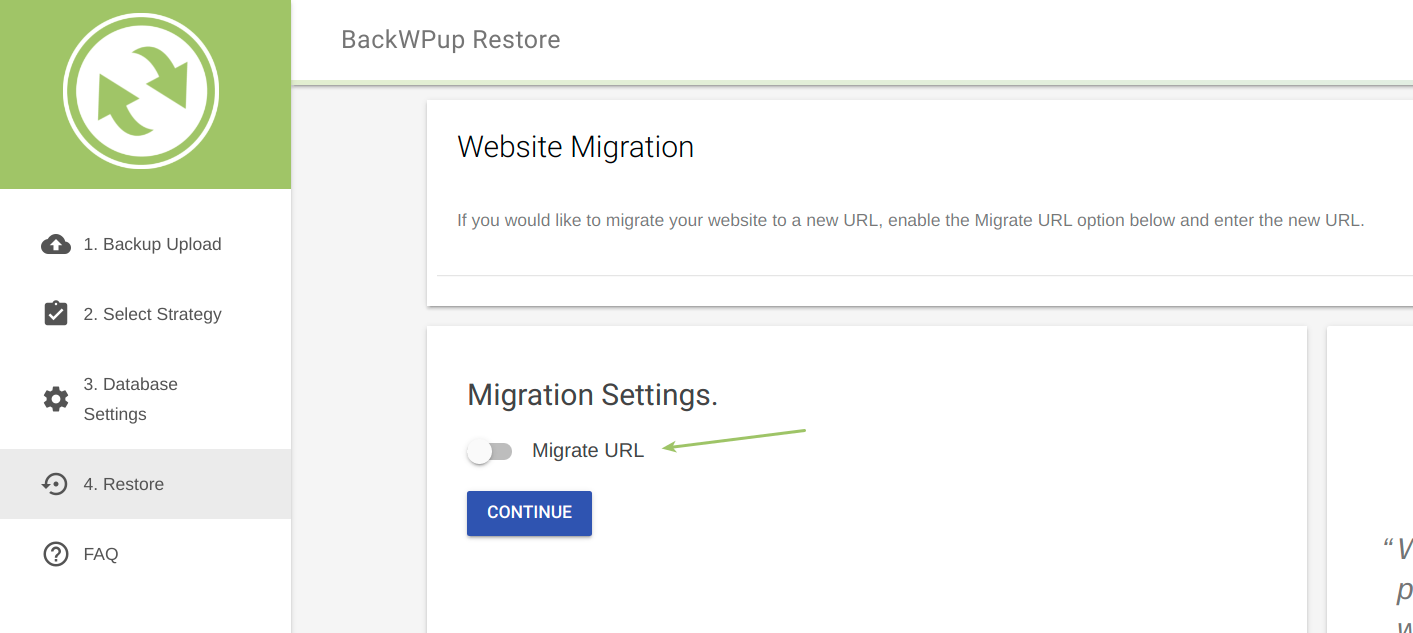
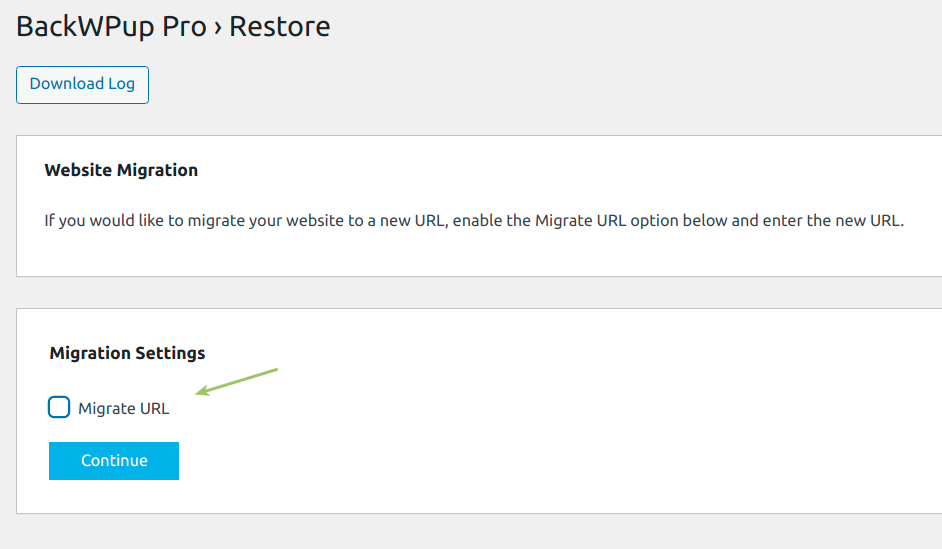
In step 4, the migration option is available. If we do not select that option, the backup archive package will be restored on the remote server, referencing the URL value of the source server.
Since we want instead to perform a migration, we need to select the migration option, as shown in the picture below.
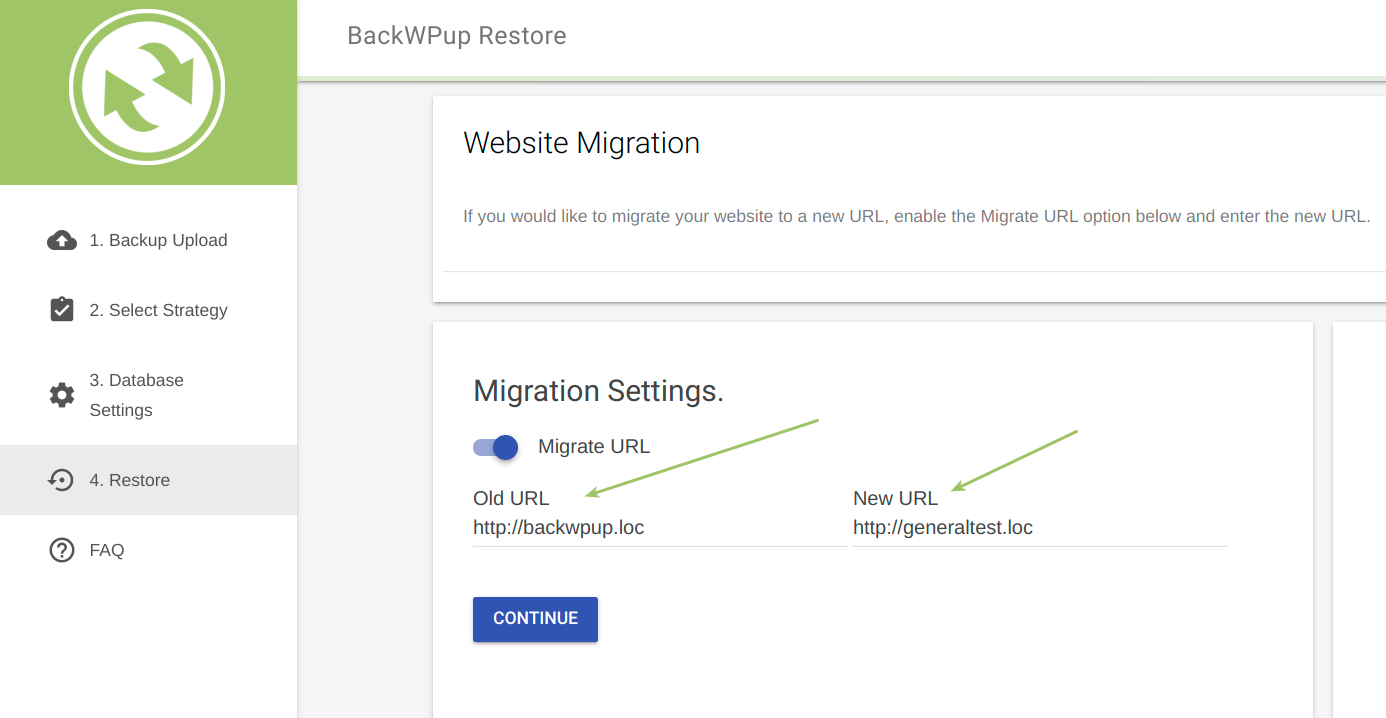
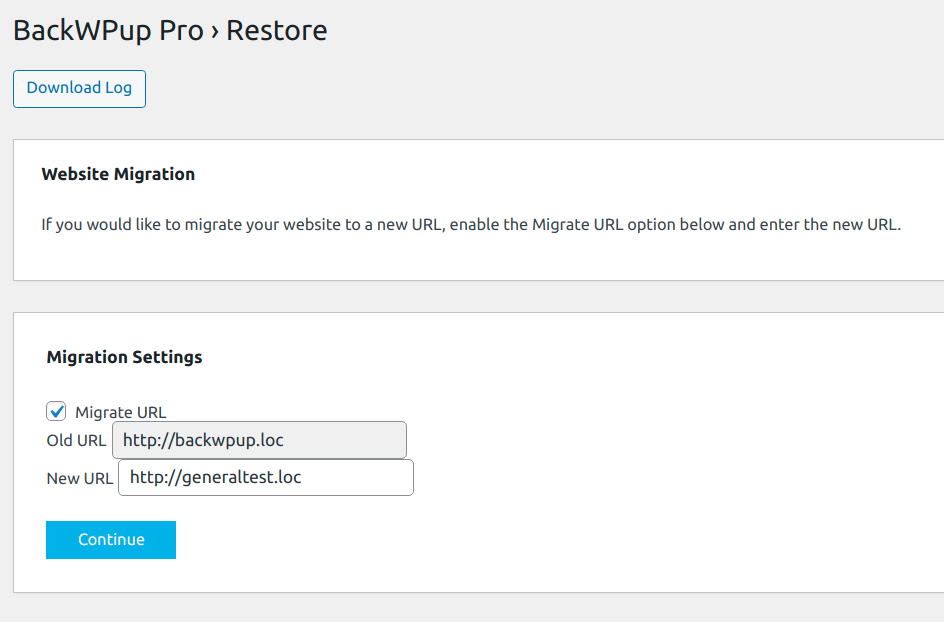
When the migrate URL is selected, the Old URL and New URL values are shown. The first one is read from the backup archive, while the second one is from the server where the site will be migrated.
Click on the CONTINUE button in order to confirm the settings.
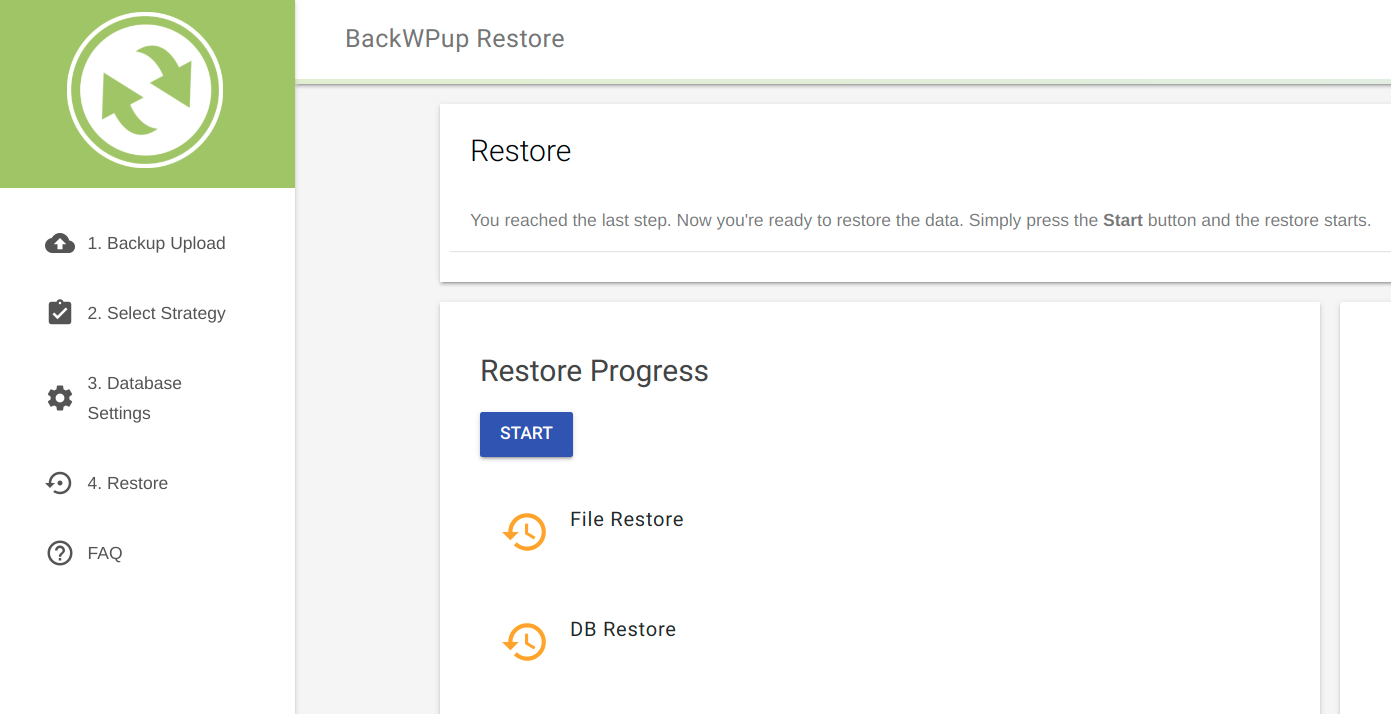
At this point, everything is set. The restore process can now be activated by clicking on the START button, as shown in the picture above.
The process will set up the same WordPress installation stored in the uploaded archive back up, but every occurrence of the Old URL will be properly replaced with the one specified as the New URL.
Let’s start the process.
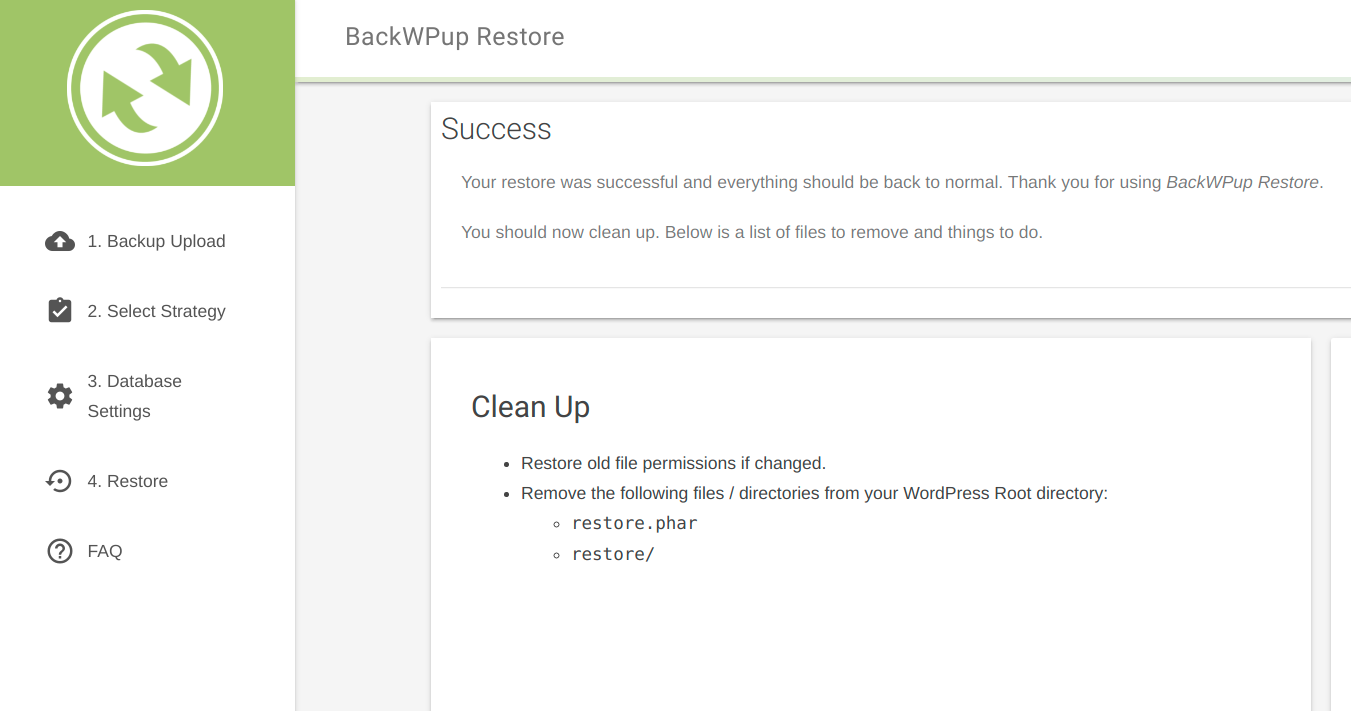
When the migration is successfully completed, a message is shown, as reported in the above picture.
Follow the clean-up instruction and try to access with your browser the new URL to check that the migration has been properly performed.
Migrate your site to the new URL through the plugin
As said, the migration can be performed not only through the Standalone Restore App but also using the standard plugin. As an example, we provide a brief description of the main migration steps to show how they are rendered in the plugin.
In order to perform a migration we follow the usual restore process that is described in How do I use the BackWPup Restore feature?
When the database connection is successfully tested, the page with the migration option is shown
Here, after enabling the option, the Old URL and New URL fields are provided. As before the default values for such URL are automatically detected, but the new URL can be also edited.
Finally, click on CONTINUE to complete the migration process as described before.
