
In this post, we explain how to connect your HiDrive cloud storage with BackWPup. We also give a tutorial on how to perform a backup to HiDrive.
Connect BackWPup with HiDrive
In order to save a WordPress backup to HiDrive, you first need to activate a HiDrive Storage Cloud Plan. If you don’t have an account yet, you can create one here. After installing and activating a BackWPup Pro on your website, follow these steps to backup your WordPress site to HiDrive.
- In the BackWPup settings, choose HiDrive as your storage option. This can be done during the backup setup or by navigating to the settings page.
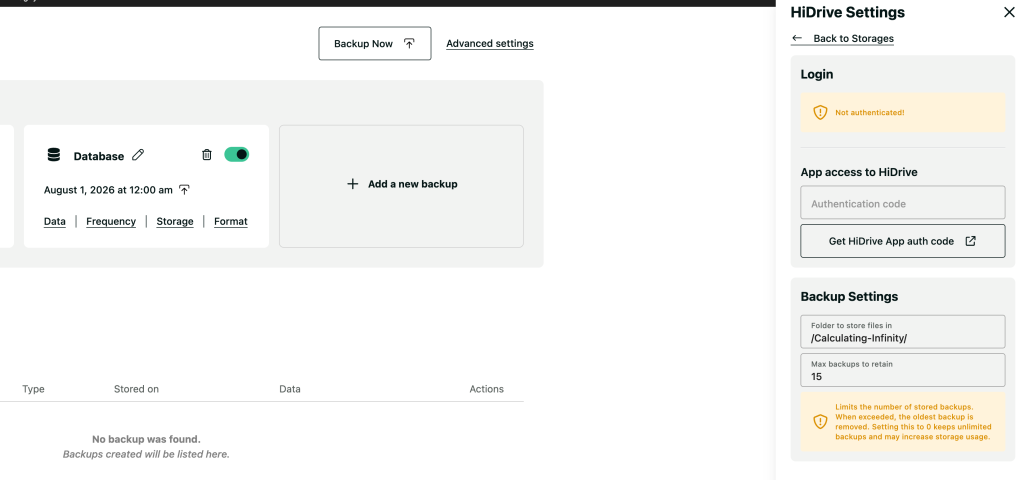
- If not yet authenticated, you will see a “Not authenticated!” message in red at the top of the settings page.
- To authenticate, click get app auth code, which will open login page for HiDrive in new tab:
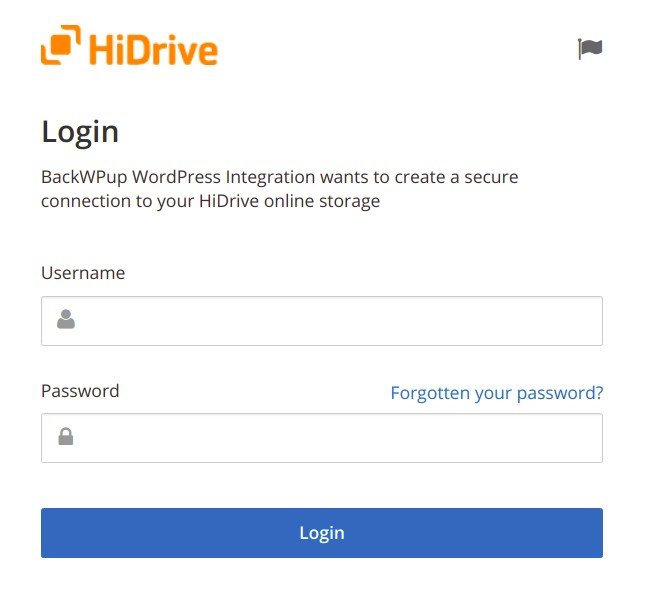
Authenticate in HiDrive Login Form - Allow permission to access the HiDrive storage.
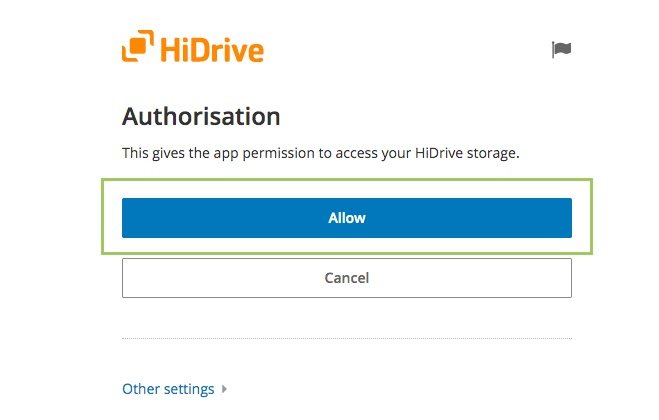
Allow access to storage - As a result, you get an authorization code; copy the code.
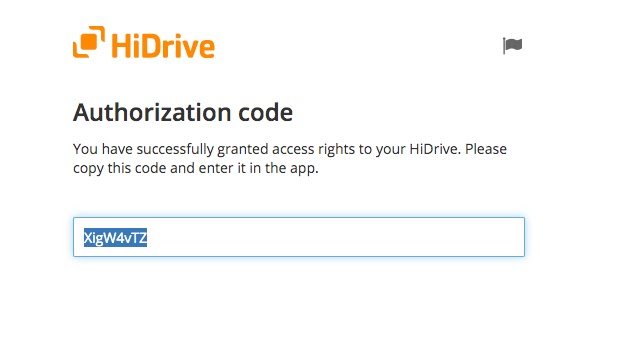
HiDrive Authorization code generation - Head back to the BackWPup To:HiDrive settings page and paste the authorization code into field and click on the “Save Changes” button.
After setting up, initiate a backup to ensure everything is configured correctly. This step helps verify that the backup process functions as intended.Configuring Backup Storage Location
Configuring Backup Storage Location 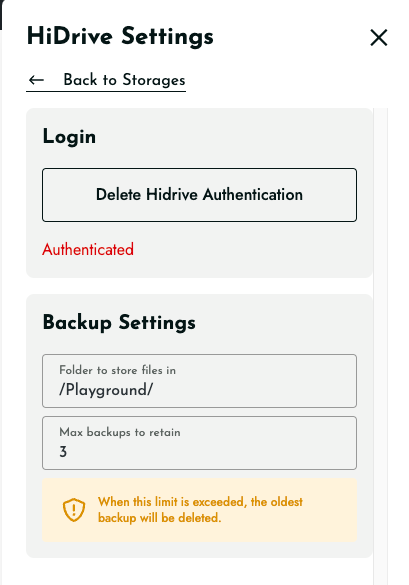
- Storage Folder Name:
- Specify the folder name where your backups will be stored. If using App authentication, it will be located under the ‘Apps/BackWPup’ directory in your Dropbox.
- File Management:
- In the ‘File Deletion’ setting, determine the maximum number of backups to keep in Dropbox. Setting this limit helps manage storage space by deleting the oldest backup when the maximum is reached.
