
Indice
To save a WordPress backup to Dropbox using BackWPup, you must have an existing Dropbox account. If you do not have an account, you can create one here.
Indice
Connecting to Dropbox
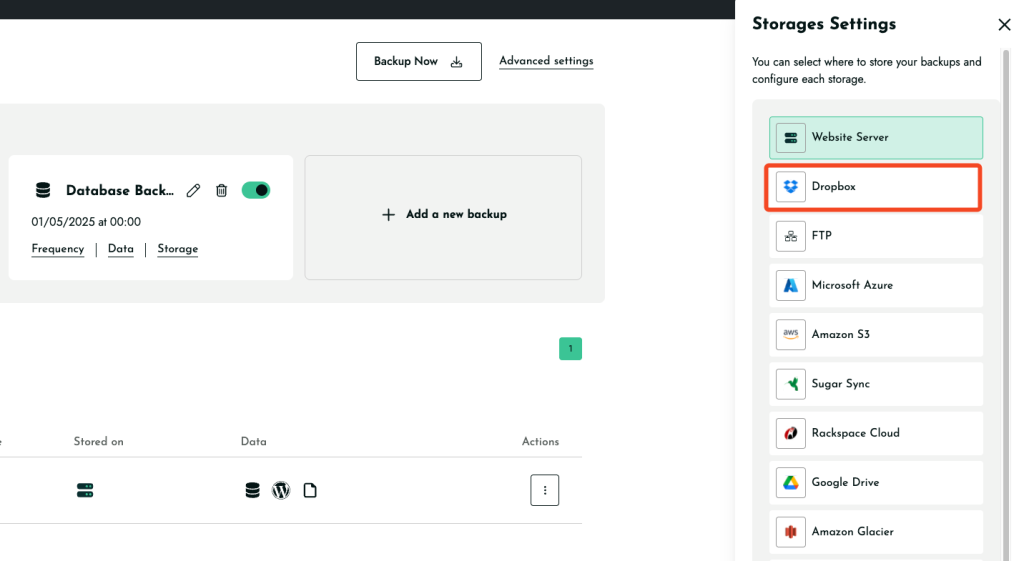
- Select Dropbox Storage:
- In the BackWPup settings, choose Dropbox as your storage option. This can be done during the backup setup or by navigating to the dashboard.
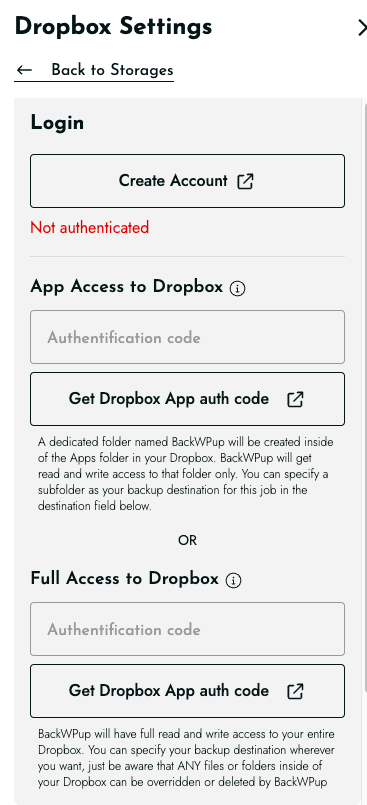
- Autenticazione:
- Se non hai ancora effettuato l'autenticazione, vedrai il messaggio «Non autenticato!» in rosso nella parte superiore della pagina delle impostazioni.
- Per effettuare l'autenticazione, hai due opzioni:
- App Access: Click ‘Get Dropbox App auth code’ for limited access to a specific folder within your Dropbox.
- Full Access: Click ‘Get full Dropbox auth code’ for access to your entire Dropbox.
- Consigliamo di utilizzare l'accesso tramite app per una maggiore sicurezza.
- Procedura di autorizzazione:
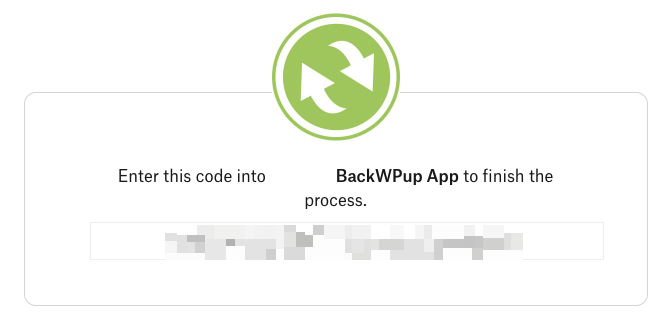
- After clicking the auth code button, you will be redirected to Dropbox’s website. Click ‘Allow’ to permit BackWPup to access your Dropbox.
- Dropbox will then provide you with a code. Copy this code and paste it into the corresponding field back in the BackWPup settings page.
- Completa la connessione:
- Once the code is entered, click ‘Save Changes’ at the bottom of the page. BackWPup will confirm that it is successfully connected to Dropbox.
Configurazione della posizione di archiviazione del backup
- Nome della cartella di archiviazione:
- Specify the folder name where your backups will be stored. If using App authentication, it will be located under the ‘Apps/BackWPup’ directory in your Dropbox.
- Gestione dei file:
- In the ‘File Deletion’ setting, determine the maximum number of backups to keep in Dropbox. Setting this limit helps manage storage space by deleting the oldest backup when the maximum is reached.
Eseguire il primo backup
- Una volta completata l'installazione, avvia un backup per assicurarti che tutto sia configurato correttamente. Questo passaggio consente di verificare che il processo di backup funzioni come previsto.
