

The BackWPup restore feature allows simple restoration of your WordPress backup in only a few steps. In this documentation, we explain how you restore your WordPress backup using the BackWPup restore feature.
Attention: Only backups made with BackWPup are restorable with the BackWPup restore feature.
Restoring your WordPress site with BackWPup is streamlined through an intuitive interface that allows you to quickly revert your site to a previous state using backups stored in your history.
How to Use the BackWPup Restore Feature
- Navigate to
BackWPup > Restorein your dashboard to find your list of available backups.
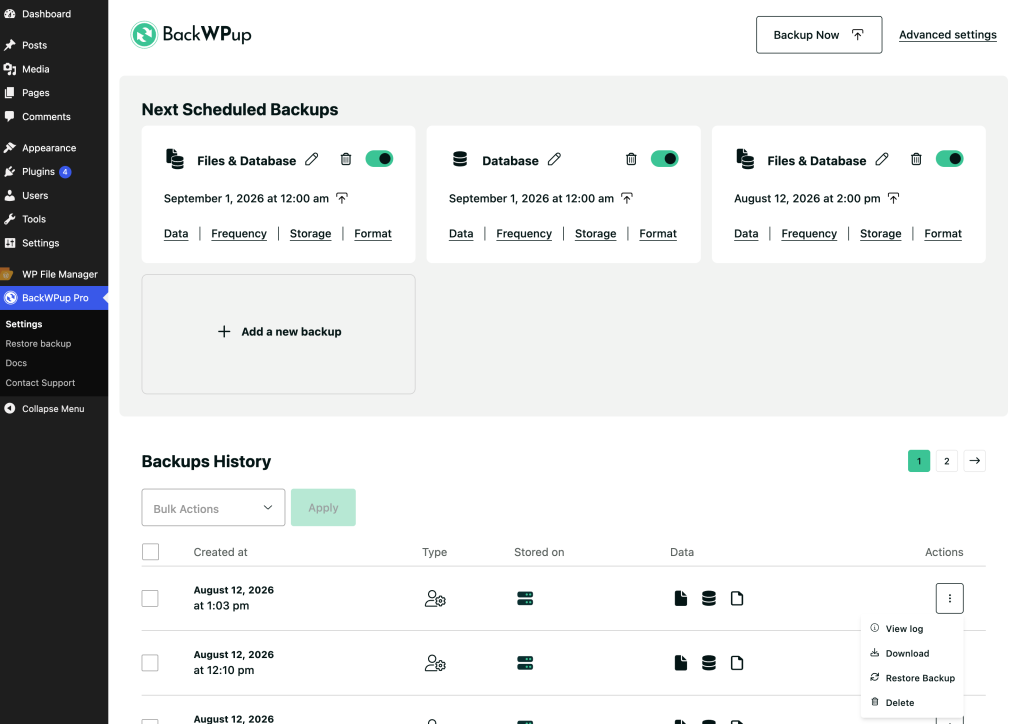
- For Pro users, simply click on the ‘Restore Backup’ button next to the backup you wish to restore. The process begins automatically without additional steps.
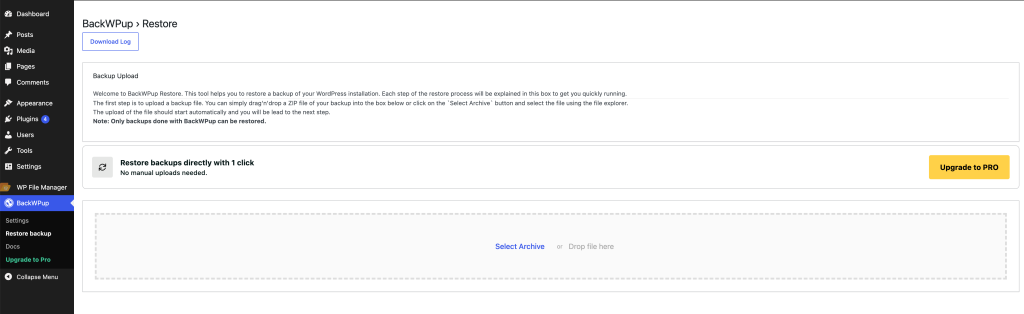
Free Version Users: In the free version of BackWPup, users must first download their backup file and then manually upload it to the restoration page to initiate the process.
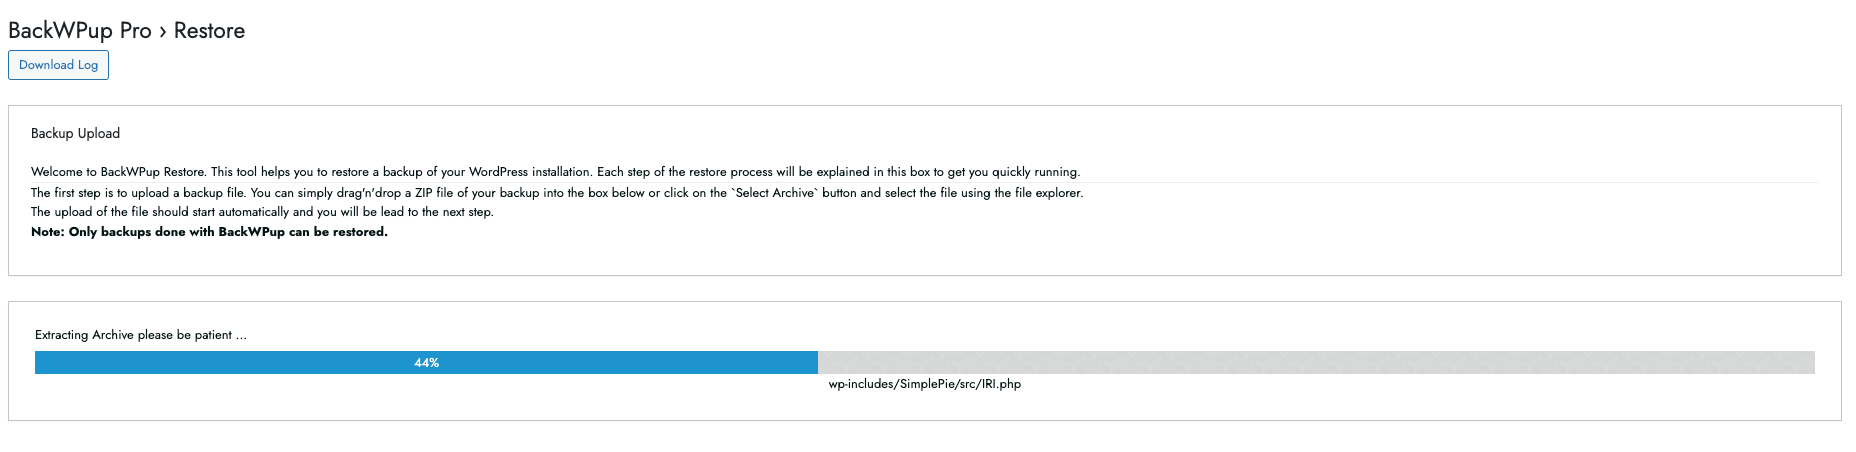
Attention: Take care with the backup that you restore. The one you restore is going to overwrite your website. So, check whether you uploaded the correct backup.
- When the backup archive is successfully uploaded, you need to decide between these two possibilities:
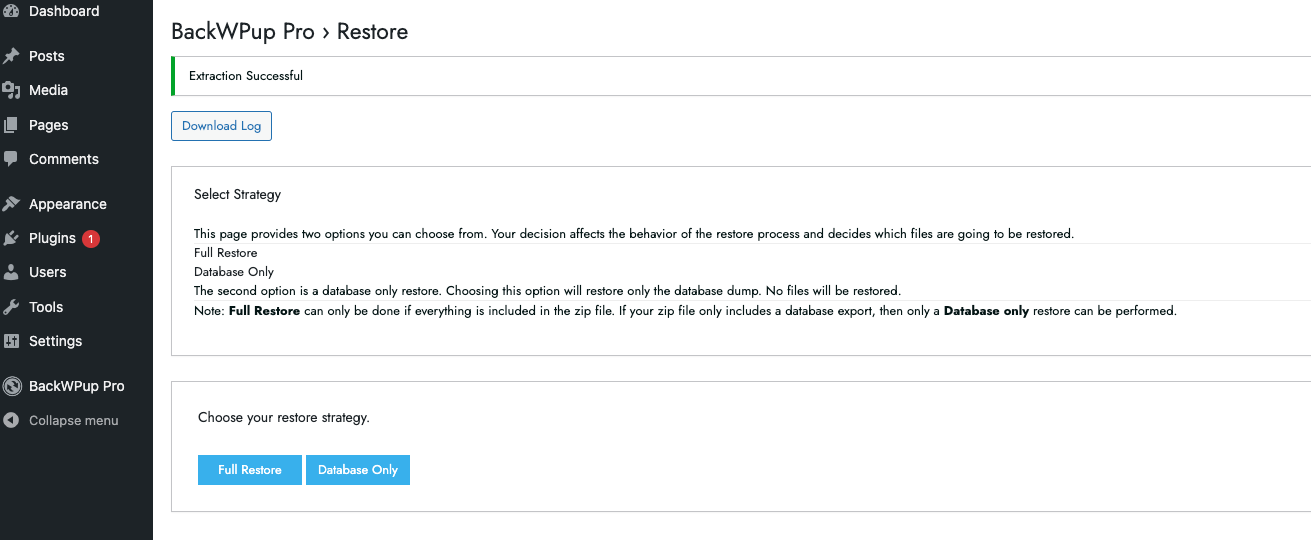 Now you can choose whether you want to perform a database restore or a full restore. When you decide to perform a database restore, you are only going to restore the database dump. In case you decide to perform a full restore, you are going to restore the whole installation with all files. In this documentation, we are going to perform a full restore.
 - Next, you need to indicate your database settings so that a working connection to your database can be built up.
This information is pre-filled if you’re restoring on the same site, but will be empty if you’re restoring on a different URL. Enter the Database Host, the Database Name, the Database User, and the Database Password. You can find all relevant database connection settings in
wp-config.php. However, you can also ask your hosting provider. In this documentation, we take the data fromwp-config.php. You can find this file inside the ZIP archive of your backup. We also wrote documentation about wp-config.php. - When you have entered all the data, click the button to test the connection. If the test is successful, you will see the message: Connection to Database Successful.
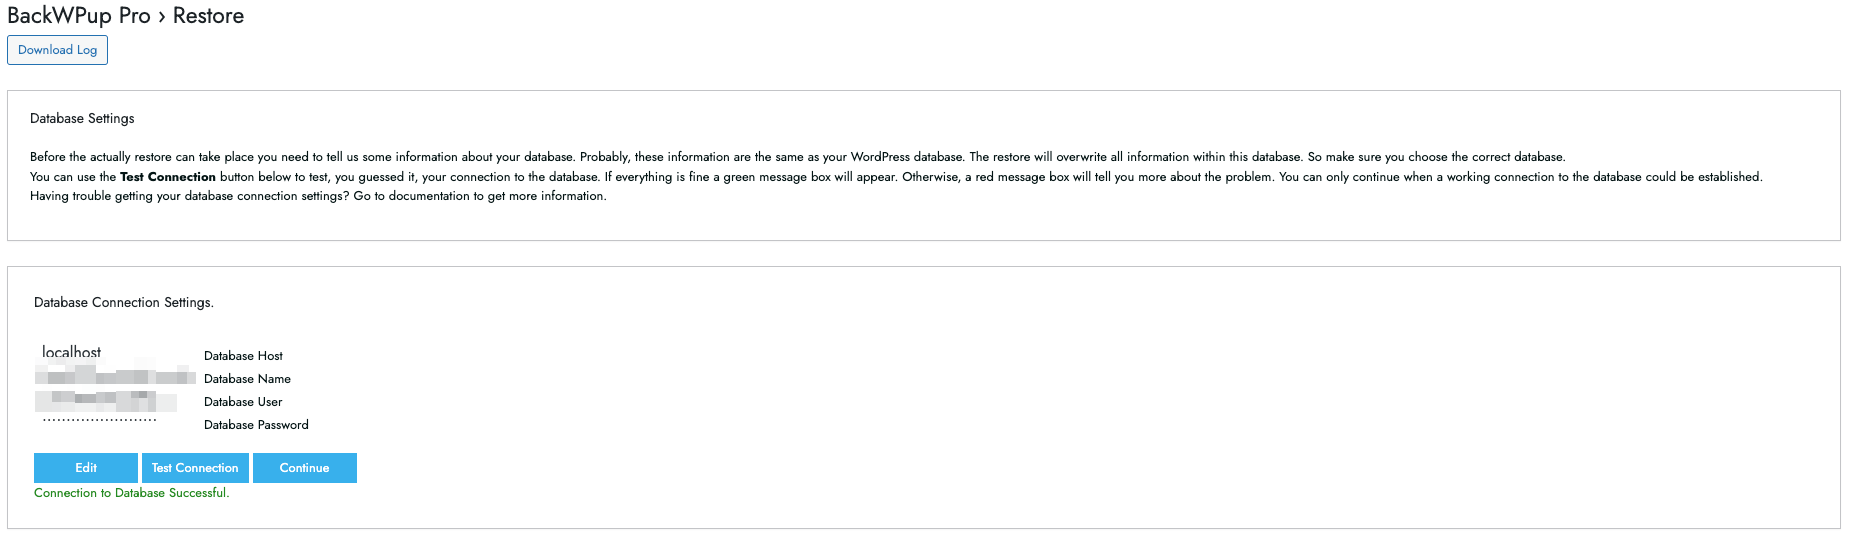
- Now click the Continue button. You have reached the last step. When you are ready to restore your backup, click Start. BackWPup will now restore your backup. This may take a few minutes if you are restoring a full backup.
- When the restore is successful, the completion information is displayed. If BackWPup encountered any problems during the restore process, you can download the log file directly. The entire restore process is documented there, making troubleshooting much easier.
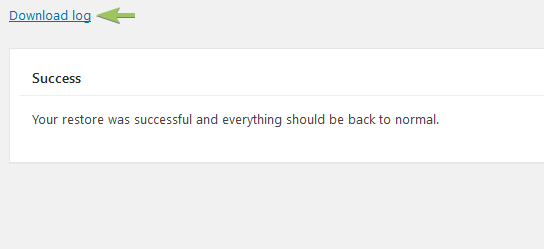
The restore was successful.
How to Restore a Backup Directly
For situations where you need to restore from an older backup not listed in your history, you can upload your backup file directly on the BackWPup > Restore page to initiate the restoration process.
Restoring Without Access to WordPress Installation
In case you have no access to your WordPress dashboard at all, the BackWPup stand-alone app can rescue your site. Check out this documentation to find out how to install and use the stand-alone app.
BackWPup Pro License Key Missing After Restore
If the license key is not activated after a restore or if you encounter issues activating it, please refer to the tutorial: How do I activate my BackWPup Pro license?
BackWPup Restore Feature: Important Files and Directories
For users interested in technical details, this section explains what happens in the background when restoring a backup. As soon as you select the Restore menu link, the plugin creates the directory wp-content/uploads/backwpup-restore on your server.
Below is an overview of the key files and directories stored in that location:
Restore.log
This file contains all information logged during the restore process, including the database import, copied directories, and other details important for debugging. This log file enables fast support by providing a clear record of the restoration steps.
Restore.dat
This file contains the state of the restore process along with essential metadata, such as where files should be uncompressed, where the database dump is located, and other restoration parameters.
Upload Directory
This is the directory where the uploaded archive is temporarily stored: wp-content/uploads/backwpup-restore/uploads.
Extract Directory
This directory is where the uploaded backup file is extracted: wp-content/uploads/backwpup-restore/extract.
.htaccess
This file prevents direct web access to the temporary restore directory.
.donotbackup
This file prevents the plugin from including the temporary restore directory in future backups. The wp-content/uploads/backwpup-restore directory is temporary and contains uploaded archives, extracted files, and other transient data that should not be backed up.